Install the Flexmonster server
The Flexmonster Pivot server is an essential part of our solution, as it enables handling large data volumes efficiently.
This tutorial explains how to install the Flexmonster server. The setup takes less than 5 minutes — watch our video to see how easy you can configure Flexmonster and start analyzing your data right away:
Supported operating systems
The Flexmonster server is available for the following operating systems:
- Ubuntu/Linux (64-bit and ARM64)
- macOS (Apple Silicon and Intel)
- Windows (64-bit)
Note You should also ensure that your operating system supports the .NET version used in the Flexmonster server, which is currently .NET 9. See the list of OS versions supported by .NET 9.
Step 1. Download the Flexmonster server
Step 1.1. Download a package with Flexmonster for your OS from our Download page.
Step 1.2. Unarchive the package and check out what's inside.
Step 2. Install the Flexmonster server
The server contains two preconfigured data sources, which you can check out in the Data sources tab of the Admin Panel:
SampleData— a simple dataset with retail data.StateNames— a 150MB dataset with 5.6M records. It can be used to try out Flexmonster with a large dataset.
Trying out Flexmonster with a large dataset
The Flexmonster server contains a preconfigured StateNames data source, which loads a 150MB file with 5.6M records of US kids' naming trends (1910-2014). You may connect to this data source to test performance of your local Flexmonster server.
Here's how to connect to StateNames:
-
In the Admin Panel, go to the Data sources tab and enable the
StateNamesdata source. Once it is loaded, it will be available from the client side.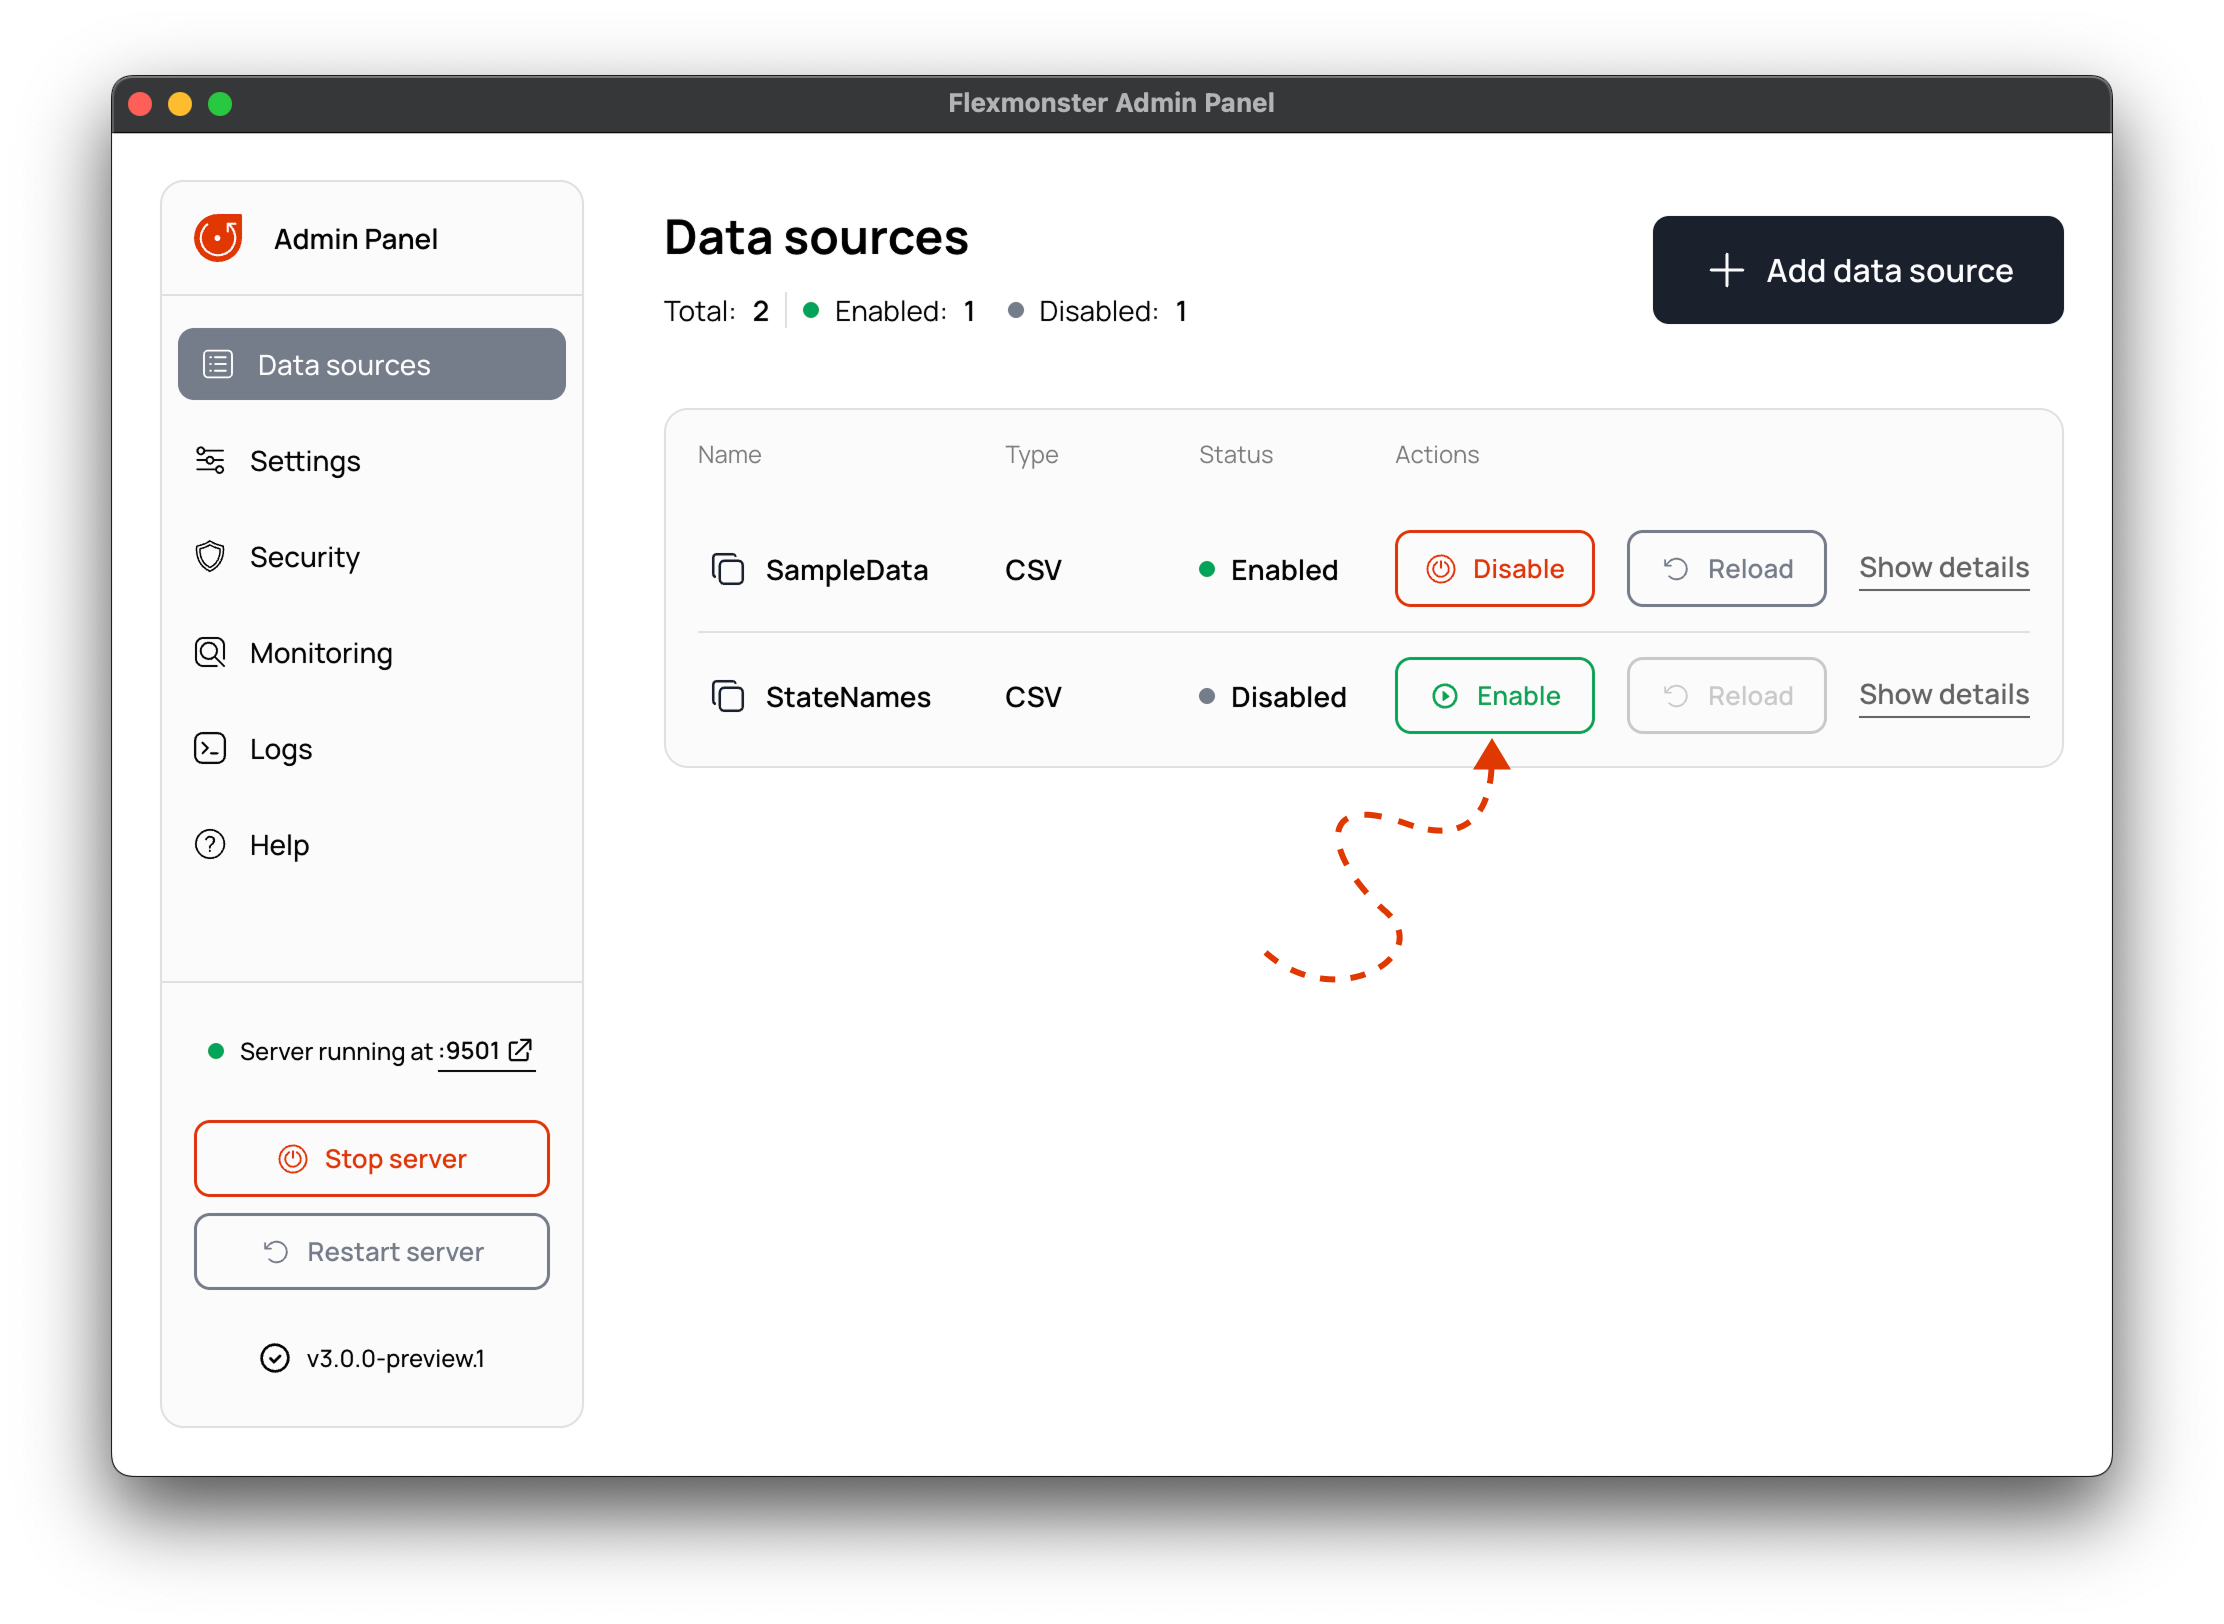
-
Open the
index.htmldemo file located in the Flexmonster package. This demo is already connected to theStateNamesdata source on our server, so you only need to change a few lines of code:- Uncomment the line with the URL to the local server.
- Comment the line with the URL to our server.
dataSource: {
  // Step 4.a. Specify the URL of your Flexmonster server
  // url: "wss://demo-server.flexmonster.com:9500",
  // Uncomment the line below to connect to your local Flexmonster server
  url: "ws://localhost:9501",
  // Step 4.b. Specify the name of your data source
  name: "StateNames"
}
Now open the index.html page in your browser and see the StateNames dataset from your server displayed.
Troubleshooting
If you encounter any issues with the Flexmonster server or the Admin Panel, visit our troubleshooting page.